Connect to a Network Printer
These instructions are for computers that are joined to the domain (to log in you have to use your ONYEN credentials). For instructions for non-domain joined machines, go back to the “How To…” page and select “How to Connect to a Network Printer on a Personal Computer”.
Choose your operating system by clicking one of the pictures below.
How to Connect to a Network Printer in Windows 7, 8 and 10
Step 1
Open Windows Explorer by any of the following methods:
- use the hotkey combination
 + E
+ E - Windows 7: click My Computer in the Start menu
- Windows 8 and 10: click on the File Explorer shortcut on the Task Bar.
Step 2
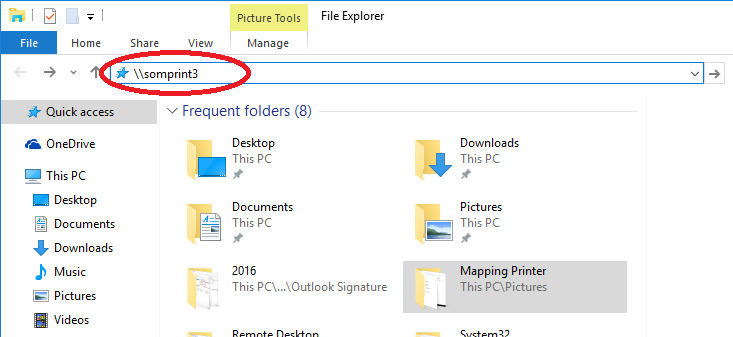
Type \\somprint3 in the address bar at the top of the window, and hit Enter. (Note: Most printers for the Department of Medicine are located on \\somprint3, but if you do not see the printer you are trying to connect to, enter \\somprint2 instead.)
Windows 7 address bar:

Windows 10 address bar:
Step 3
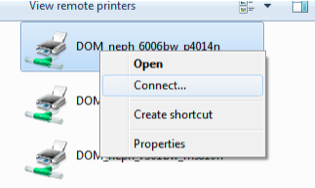
Look through the list of printers for the appropriate one(s) for your division and location. Dept. of Medicine printers all start with DOM_division_ and follow a standard naming convention: DOM_division_room#bldg_printermodel.
In the picture below, the selected printer is a Nephrology printer, located in room 6006 of Burnett-Womack.

Step 4
When you find the printer you want to connect to, right-click on it and choose Connect.
Step 5
The following window will pop up:
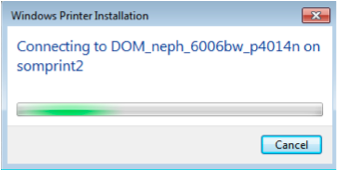
Wait until the progress window disappears, then look in your Printers and Faxes window- you should now see a connection to the printer. Repeat as needed to connect to any printers you need access to. Set your default printer as desired, and you should be good to go.
If you encounter difficulty performing these steps, please let us know and we’ll be happy to assist you.
How to Connect to a Network Printer in Mac OS X
Step 1
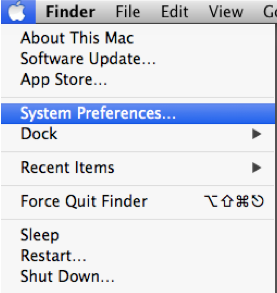
Click on the Apple symbol on the top left corner of the screen and then click on System Preferences…
Step 2
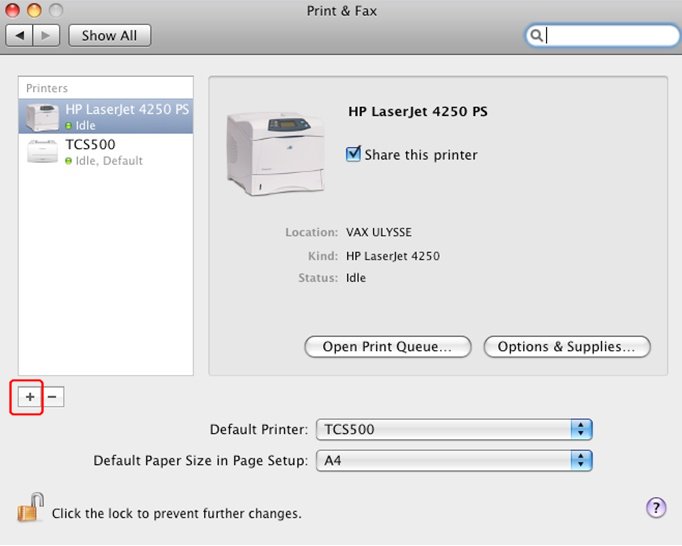
Click on Printers & Scanners
![]()
Step 3
Click on +
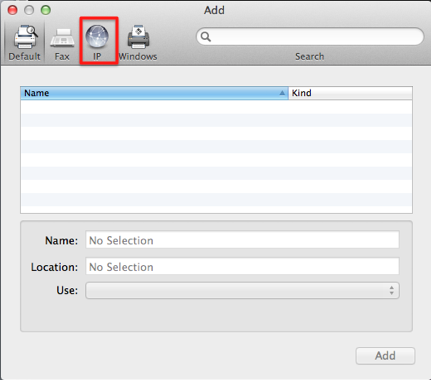
Step 4
Click on IP at the top
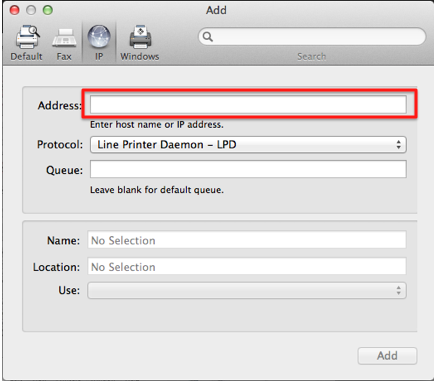
Step 5
In the Address field, enter the hostname of the printer you would like to connect to along with .med.unc.edu.
-
- The hostname can be found on a label on the printer
- Dept. of Medicine printers all follow a standard naming convention: DOM-division-room#bldg-printermodel.
-
-
- Ex. A printer with the hostname of DOM-neph-6006bw-p4014n, would be an HP Laser Jet p4014 in 6006 Burnett-Womack in Nephrology.
- If the hostname of the printer is DOM-neph-6006bw-p4014n, what you would enter in the Address field would be:
- DOM-neph-6006bw-p4014n.med.unc.edu
-
Step 6
In the Name field, enter what you would like the Printer to be named

Step 7
Click Add and then click OK in the window that pops up
Step 8
The printer should now be added to Printers list in the Printers & Scanners Menu
If you encounter difficulty performing these steps, please let us know and we’ll be happy to assist you.