Banners
Banners can help highlight important information, promote initiatives, or create strong visual impact at the top of a page. However, banners must be implemented in ways that support accessibility, performance, and long-term maintainability.
This page outlines what is allowed and not allowed in the School of Medicine web system.
Not Allowed
Image Carousels, Sliders, and Slideshows
Image carousels (rotating banners) are not permitted. Carousels create significant accessibility barriers, including keyboard navigation issues, timing controls, and screen reader confusion.
Review our Carousels Accessibility documentation for more information.
Envira Gallery and Soliloquy Plugins
As mentioned, slideshows are not allowed, including those created with the Envira Gallery or Soliloquy plugins.
- Envira Gallery may continue to be used for static image galleries, but it should not be used to create slideshow-style banners.
- Soliloquy is being phased out. Sites currently using Soliloquy should redesign their slideshow content without it.
Allowed Banner Options
Cells Plugin Banner Options (Recommended)
The Cells plugin includes several pre-designed banner and full-width layout options that are accessible and responsive.
Using Cells is the preferred method for adding banners because:
- Layout and styling are already built to match the SOM theme
- Responsive behavior is handled automatically
- No HTML or CSS knowledge needed
The Image Blocks and Banner Blocks within Cells are the closest “banner” options.
If you are new to Cells, review the Getting Started with Cells documentation before you begin.
Add an Image to the Featured Content Area
The Featured Content area displays directly below the top navigation. If styled correctly, an image placed here can span the full width of the browser window and function as a banner.
The Featured Content area only accepts HTML and shortcode. If you’re unfamiliar with HTML, the steps below will show you how to use the editor to generate the HTML you need.
- Add the Image to the main content area of the page.
- Ensure you add meaningful alt text (required).
- Click on the image to select it. This will highlight the code so it is easy to find in the next step.
- Click on the Code tab in the editor to view the html of the page.

- The HTML for the image should already be highlighted (if you followed step #3 above). If not, locate and highlight the whole <img> tag.
- Copy the complete <img> HTML code.
- Paste the HTML into the Featured Content area.
- Modify the html
- change the width attribute to 100%
- Remove the height attribute completely. This ensures the banner spans the full width and remains responsive.
- The final results will look something like this:

- Delete the image in the main body content area as it is no longer needed.
- Save or Update the page.
Examples
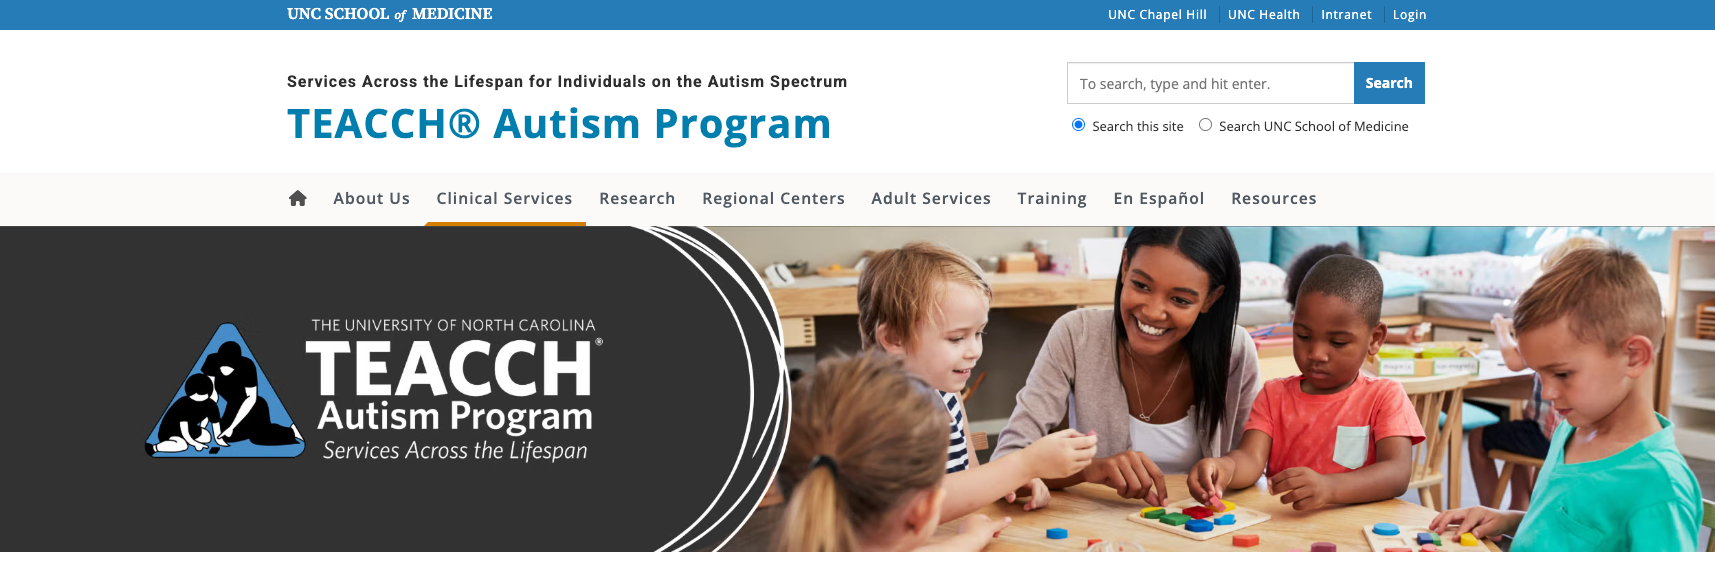
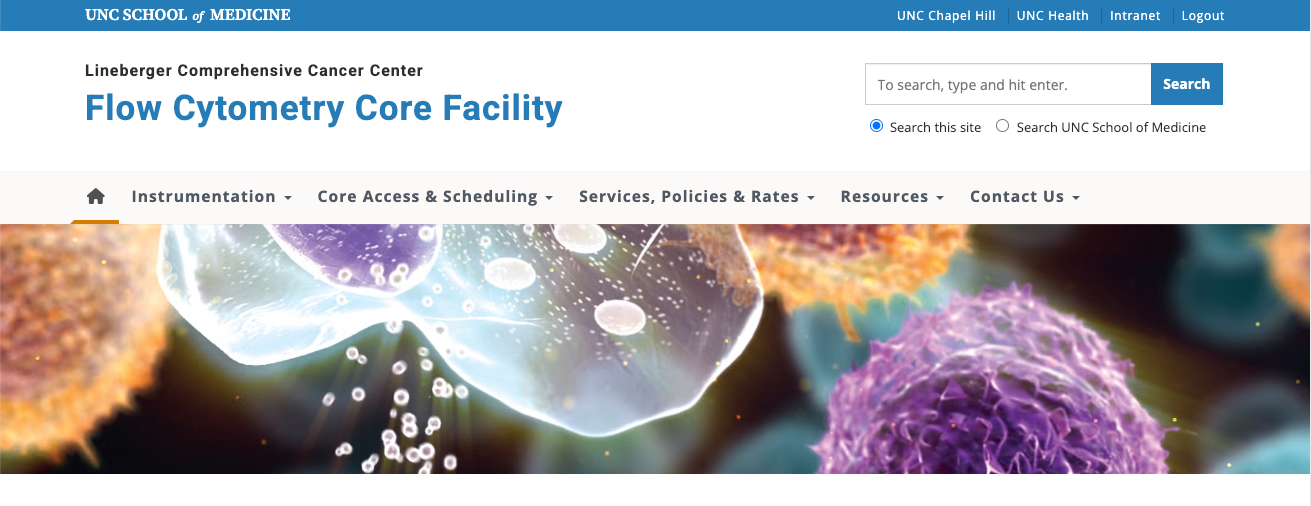
Below are some examples of banners placed in the Featured Content area.
Add an Image to the Main Content Area
A wide banner image can also be placed in the main body content area of a page. These images will not span the full width of the browser window and will instead be constrained by the main content area.

Using the Featured Image Field
The Featured Image field can also be used to display a banner image below the top navigation. However, this option provides less layout control compared to Cells or images placed in the Featured Content area.
- The Featured Image area has a predetermined height. Images may be clipped depending on their dimensions.
- The amount of clipping varies based on screen size.
- The image is not fixed which means it will scroll with the page.
To use this option, simply add an image to the Featured Image panel.

Recommended Image Size for Banners
Choosing the right image size is important for visual quality and performance.
Note that banner images should not be overly tall. Tall images push the page’s main content down the screen, forcing visitors to scroll before seeing important information.
A good banner supports the content — it shouldn’t overwhelm it.
For Full-Width Banners (Featured Content Area)
Because this area spans the full width of the browser window, banner images should be:
- 2,000–3,000 pixels wide
- Optimized for web use
- Ideally under 800 KB
Large enough images ensure clarity on wide desktop monitors, while proper compression prevents slow page load times.
For Banners in the Main Body Content Area
Images placed in the body content do not need to be as wide. Recommended size:
- 1,200–1,800 pixels wide
- Optimized for web use
- Compressed for performance
Uploading overly large images does not improve quality but can slow down page load time.