Create a Profile
To create a new profile, select SOM Directory > Add New in the Dashboard.
Many profile fields are self explanatory and will not be addressed in this documentation. This documentation will focus on tips, best practices and explanation of fields that generally need some clarification.
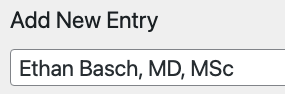
Title
This is the name that displays in the gallery view as well as the title on the persons individual profile page.
Body Content
The large field under the Title is the Body Content. Even though this field has no actual label, for documentation purposes this field will be referred to as the Body Content. This is where the bulk of the profile information will be added. You can add as much or as little information as you want. Common categories of information that our web sites like to add often include a person’s Research, Specialty Areas, Certifications, Awards, and Publications. Various types of content can be added to this field: images, video, shortcode, etc.
Ensure you follow accessibility best practices for all content added to this field.
Directory Entry General Info Section
Name
Enter the person’s first and last name. This will be used to accurately sort the person in any galleries.
Telephone
- Click the ‘add telephone’ button.
- You will be required to enter a label for the number (e.g., Office, Lab, Scheduling, etc.).
- Enter a phone number with no spaces or hyphens.
- You can add multiple telephone numbers.
- Sort the display order by dragging and dropping the entry number in the left-hand side.
- Remove a number by clicking the ‘-‘ that appears when hovering over the number.
Address
- Click the ‘add address’ button.
- You will be required to enter a label for the location (e.g., Office, Lab, etc.).
- You can add multiple addresses.
- Sort the display order by dragging and dropping an entry on the left-hand side.
- Remove a location by clicking on the ‘-‘ that appears when hovering over an address.
Directory Entry Professional Info
Positions
Only the first two positions will show in a gallery view. All positions will show on a single profile view.
Resources
If a person has a PubMed RSS feed, a PDF copy of their CV or resume, or another type of professional document, use the Resources section. Links other than a RSS feed or media library article should go in the ‘External Links’ field under the “Directory Entry Data and Layout” section.
- Click on ‘Add Resource’ button.
- Use the Drop-down to assign what type of resource it is.
- Add the URL of the item.
- Enter the link text (e.g.: PubMed RSS Feed).
- You can add multiple resources.
- Sort the display order by drag and dropping the entry number on the left-hand side.
- Remove a resource by clicking on the ‘–‘ that appears when hovering over an entry.
Important! Please ensure that uploaded CV files and other resources are meant for public consumption. We had an incident where profiles from a School of Medicine departments were temporarily taken down because CV files containing home phone numbers, email addresses as well as home addresses were uploaded to profiles. Doctors from this department started receiving calls and emails at home from their patients. If you are not the original creator of the CV / resource files, please check to ensure they are intended for the general public.
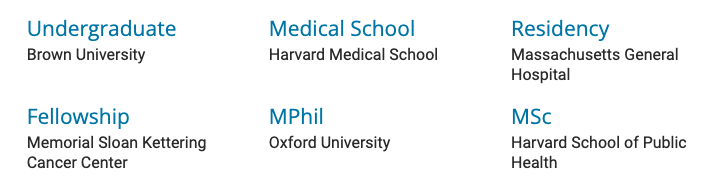
Directory Entry Academic Info
This section should be used to highlight the person’s formal academic background and any special programs or degrees obtained. This is not the area for past work history or positions held. If used, this section will create a specially styled block of content within the bio to highlight the information entered.
Directory Entry Data and Layout
Options
By default, all profiles in a gallery will link to a full profile page. Selecting the Don’t Link Profile option allows you to create a profile that displays in a gallery but doesn’t link to a profile page. Profiles for administrative personnel often use this option.
Sort Order
Use the Sort Order to customize the position a profile displays in a gallery. Profiles sort alphabetically by last name in the gallery view. This can be overridden to force a profile to display at the beginning of a gallery. This option is often used for department chairs and center directors. All other profiles will display alphabetically by last name after these prioritized profiles. Larger numbers apply greater preference than smaller numbers. For example, a person assigned number 99 will show before someone assigned number 1.
Gallery Summary
By default, a gallery will display the name, first two positions (professional titles), contact information (phone and email) and gallery summary for every profile.
Use the “Gallery Summary” section to include additional information that you would like to display in a gallery. This content will only display in a gallery, not on a persons individual profile.
Quote
This displays a stylized quote on the profile page.
- Click on ‘Add Row’
- Add the quote and the optional Author of the quote
An example of a quote can be seen in the screenshot below or on Yara Abdou’s profile.

Top Doctor Icon & Best Doctor Icon
If the person has been listed on the Castle Connolly Top Doctor or the Best Doctor lists, selecting the corresponding check box will put the logo of the award under the person’s profile photo on their profile page.
Refer Patient Button & Schedule Appointment Button
These options will add a blue button, near the contact information, in the sidebar of the person’s profile. The intention is to use these buttons to call-out where/how to refer or schedule with this doctor. These buttons will most likely link to pages either on the main department website or to the person’s corresponding UNC Health profile.
External Links
Links to other profiles or websites associated with a person can be added here.
- Click the ‘Add Row’ button.
- Add some descriptive link text.
- Add the URL.
You can add multiple External Links, sort the display order by drag and dropping the entry number in the left-hand side, or remove a link by clicking on the ‘-‘ that appears when hovering over the number.
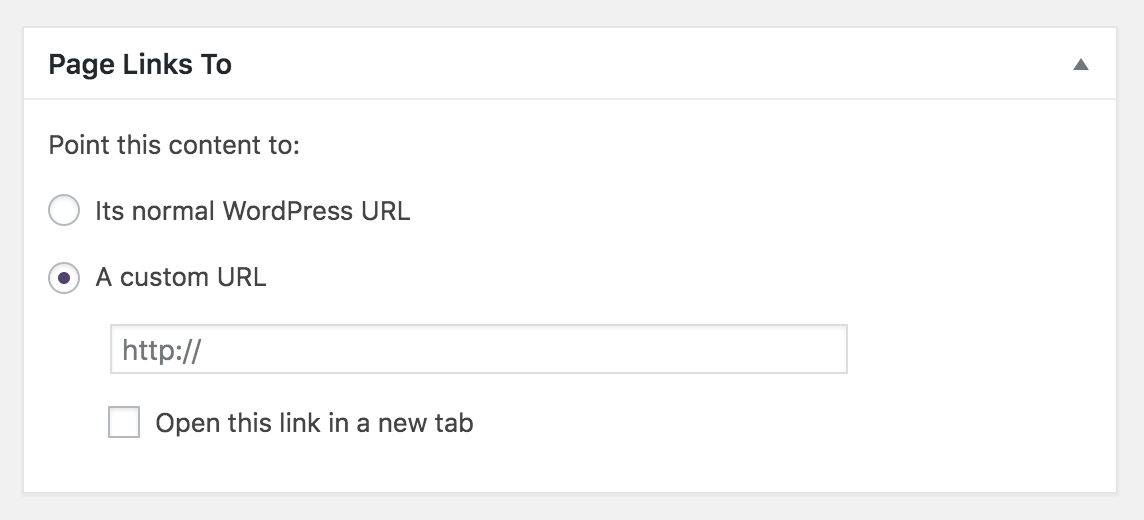
Page Links To
By default, all profiles in a gallery link to a persons individual profile page. The Page Links To option allows you to link to an external web site instead. This is useful for people who already have a profile on another web site, such as Find a Doc. This option also works well for lab or division web sites who can link to profiles maintained on their department web site. It helps avoid duplicate content and the need to maintain profile information on multiple web sites.
In the Page Links to Box, select A Custom URL option. Paste in the url that the profile should link to.
If you do not see this option on profiles, then the Page Links To plugin needs to be activated on your website. Only people with the Administrator role can manage plugins.
Right-Hand Column
Publish
View the Publishing States documentation to learn how to save changes to a profile or publish it so site visitors can see it.
Divisions
If applicable, select any Divisions that the person belongs to.
Featured Image
This is where a person’s profile image needs to be added. The featured image will automatically display in all galleries as well as a persons profile page. If no photo is uploaded, a generic Old Well image will display instead.
Feature images should be cropped to a 3 x 4 aspect ratio. Cropping them to 600 pixels wide by 800 pixels tall format is ideal.
For consistency, try to crop all your headshots in a similar fashion, with the same amount of white space around the head and shoulders.