Tabs
Tabs can be added to a page to selectively show and hide content. Here is a simple example of what tabs look like:
Tab 1 Content Goes Here.
Hello everyone!
How are you?
More information goes here.
Issues With Tabs
There are some concerns when using tabs:
- Some site visitors might overlook the fact that there are tabs on the page and won’t see the content they contain.
- Most site visitors don’t like to hunt for the content they are looking for. They also want to find the information with the fewest amount of clicks. With tabs however, you are hiding content and causing site visitors to click through all the tabs to find information.
- If someone was to print a web page with tabs on it, only the content of the active/visible tab would print. If you had important information in tabs that someone needed to print, they would need to print the page for each tab.
- Likewise, if someone was to search your web page, it would only search the active/visible tab.
TIP
Did you know that holding down the Control key on your keyboard and hitting the F key (CTRL + F on Windows and Command + F on Mac) allows you to find (search for) a word or phrase on a web page? This keyboard shortcut can be very useful and works in many programs such as web browsers, Word document, and PDFs.
How to Add Tabs
- Place your cursor where you want the tabs to display on the page.
- Select Tabs from the Content Elements dropdown menu under Interactive.

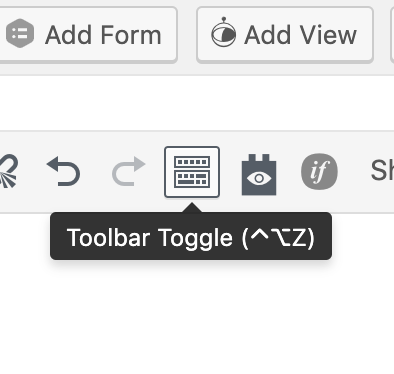
- If you don’t see the Content Elements plugin button, (as shown in the example above), click the Toolbar Toggle button. The Toolbar Toggle button shows and hides a collection of buttons in the editor.
- Shortcode will be added to the page that will create 4 tabs. The shortcode will look like this:
[tabs class="yourcustomclass"] [tab title="Tab number 1" active="active"]Tab 1 Content Goes Here.[/tab] [tab title="Tab number 2"]Tab 2 Content Goes Here.[/tab] [tab title="Tab number 3"]Tab 3 Content Goes Here.[/tab] [tab title="Tab number 4"]Tab 4 Content Goes Here.[/tab] [/tabs] - Add a title to each tab by replacing Tab number # in the shortcode. Don’t remove the quotes. Simply edit the content within the quotes.
[tab title="Tab number 2"]Tab 2 Content Goes Here.[/tab] - Add content to each tab by replacing Tab # Content Goes Here.
[tab title="Tab number 2"]Tab 2 Content Goes Here.[/tab] - The shortcode automatically creates 4 tabs, but you can add or remove tabs as needed. Simply add or delete whole tab sections.
[tab title="Tab number 4"]Tab 4 Content Goes Here.[/tab]
Examples
Department of Psychiatry
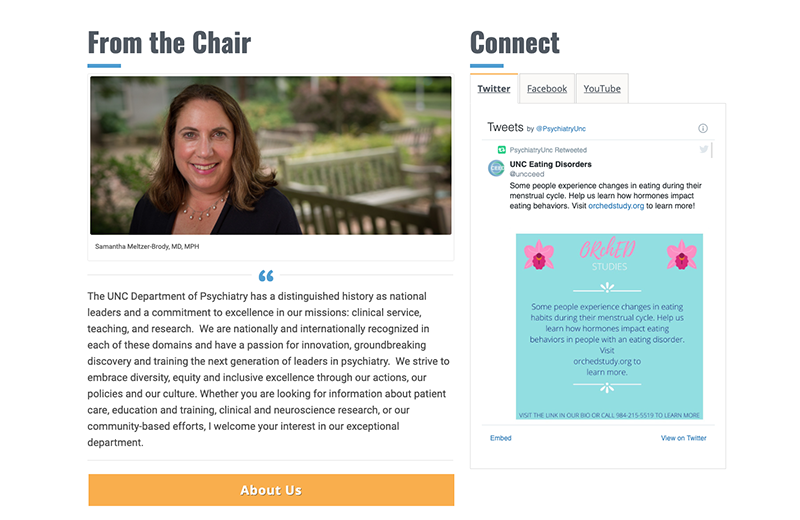
The Department of Psychiatry homepage uses tabs to display their social media.