Use Divisions to Display a Group of People/Profiles
Divisions allow you to tag or categorize profiles and then selectively display those group of profiles. This is key if you plan to organize or filter people by role, program, graduating class year, etc.
How to Create Divisions
There are two places where new divisions can be created:
While Editing a Profile
- Go to the right sidebar widget called Divisions.

- Click + Add New Division, and enter the new division name.
On the Divisions Page
- select Directory > Divisions in the dashboard menu
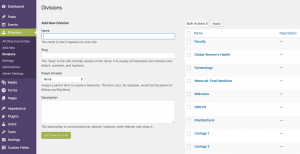
- Under the Add New Division heading, add a name to the Name field.
- Click the green, Add New Division button.
Assigning a Division To a Profile
Once you’ve created a division, it will show up as an option on all profiles (you must be editing the profile to see these options).
Multiple division can be assigned to a profile by selecting all the corresponding Division boxes.
Editing and Deleting Divisions
To edit or delete existing divisions, select Directory > Divisions in the dashboard menu.
Then select the division you wish to edit or delete.
Deleting a division will not delete any profiles; it will just remove that division from any profile to which it had been assigned.
How To Create a Gallery For a Specific Division
Once you have created a Division and assigned that Division to some profiles, the next step is setting up the gallery that displays those profiles. As the Create A Gallery page explains, you have three gallery layouts to choose from: tabular view, single-column view, and multi-column view.
- Choose the layout you wish to use and copy the corresponding code (that’s found on the Create a Gallery page).
- Paste the code into the page where you wish to display the gallery.
- Add the attribute
divisions=""to the code. Enter the slug of the Division you wish to display inside the quotes. NOTE: The divisions attribute must be the SLUG of a division, not the title. See documentation below on how to find a division slug.
Below is an example of a multi-column gallery that displays profiles from the faculty Division.
[upd_people_directory displaytype="gallery" multi_column="true" divisions="faculty"]
Multiple divisions can be displayed together, simply separate the slugs with a comma, as shown below.
[upd_people_directory displaytype="gallery" divisions="pgy5,pgy4,pgy3,pgy2,pgy1"]
How To Find a Division Slug
You will sometimes need the division slug when creating a gallery page. Adding a division’s slug to the gallery shortcode will limit the display to the profiles tagged with that Division.
Select Directory > Divisions in the dashboard menu.
The table on the Divisions page has a column that displays the slug name.

Examples
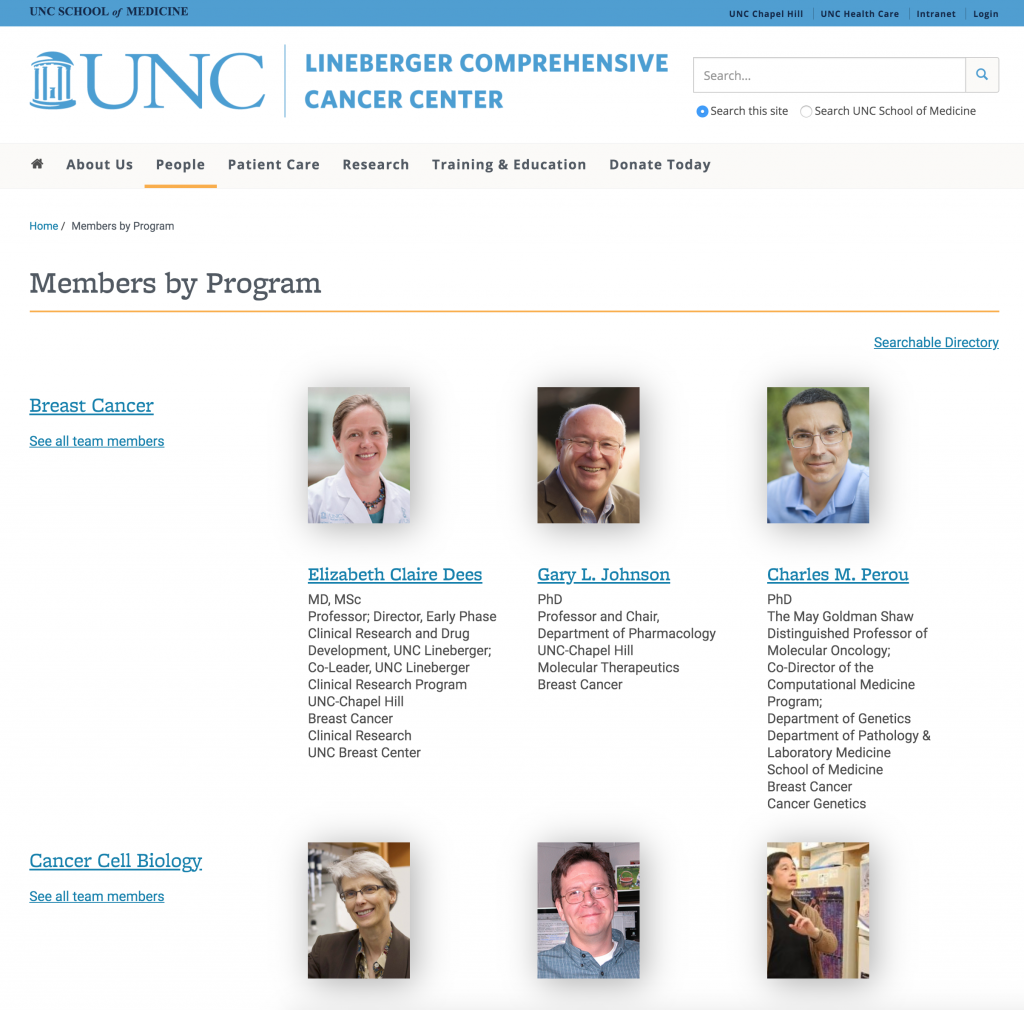
UNC Lineberger
UNC Lineberger uses a tabular display for their global directory listing. They also use divisions to selectively display people by program (breast cancer, cancer cell biology, cancer epidemiology, cancer genetics, etc.).
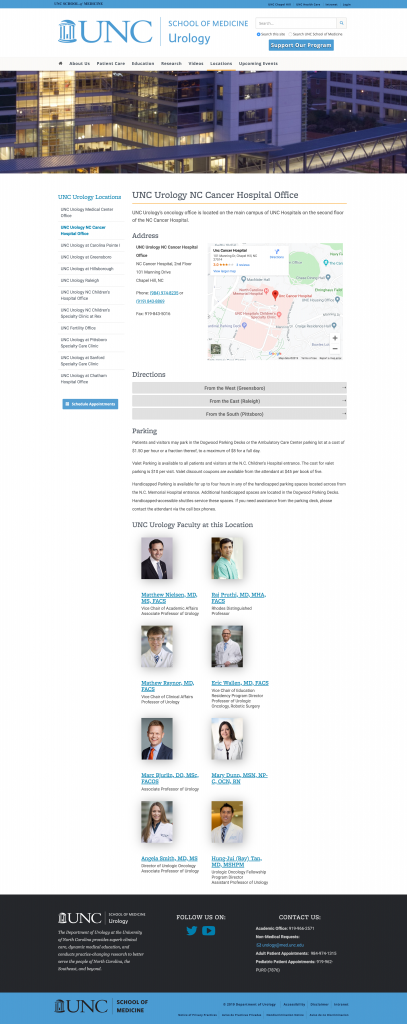
Urology
Urology uses the divisions to display their residents by year.

Urology also used divisions to display their faculty that work at each office location.